Dairy-Free Pesto Recipe – Delicious & Easy
Dairy free pesto is a vibrant and versatile sauce that has stolen my heart (and my taste buds!) and I’m so excited to share this incredible recipe with you. For years, I adored the classic pesto, but my dietary needs changed, and I thought I’d have to wave goodbye to that garlicky, basil-infused goodness forever. Thankfully, that couldn’t be further from the truth! This dairy free pesto proves that you absolutely don’t need cheese to achieve that authentic, intensely flavorful punch. It’s a revelation for anyone looking to enjoy this beloved Italian staple without dairy, whether you’re vegan, lactose intolerant, or simply looking to lighten things up. What makes this version truly special is its ability to maintain that classic pesto character – the bright basil, the nutty crunch, the zesty lemon – all without a trace of parmesan. Get ready to elevate your pasta, spread it on sandwiches, or toss it with roasted vegetables; this dairy free pesto is about to become your new kitchen hero.
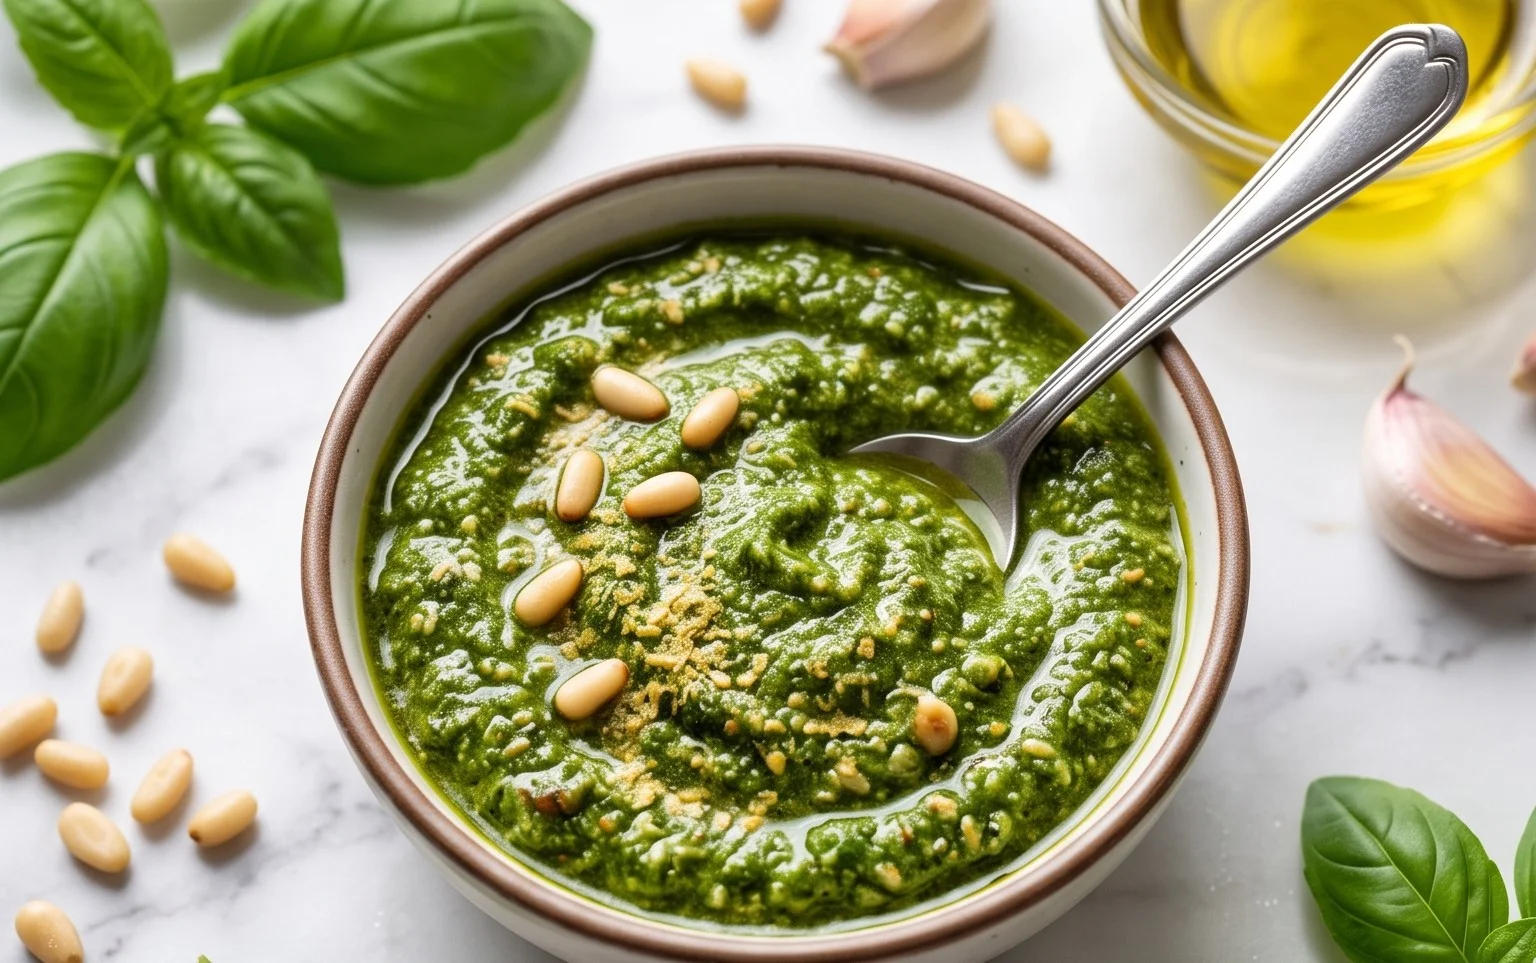
Dairy Free Pesto: A Bright and Flavorful Classic, Reimagin extracted
There’s something undeniably magical about pesto. That vibrant green hue, the fragrant aroma of fresh basil, the delightful punch of garlic and lemon – it’s a versatile condiment that can elevate pasta, sandwiches, pizzas, and so much more. Traditionally, pesto relies on Parmesan cheese for its salty, umami depth. But what if you’re dairy-free, vegan, or simply looking for a slightly lighter, yet equally delicious, alternative? Fear not, my friends! This dairy-free pesto recipe is here to save the day, proving that you don’t need cheese to achieve pesto perfection. It’s incredibly easy to make and bursting with fresh, herbaceous flavor.
Ingredients:
Crafting Your Dairy-Free Pesto
Making pesto is a wonderfully hands-on and satisfying process. Whether you have a food processor or a mortar and pestle, the result will be a glorious, fresh sauce that tastes miles better than anything store-bought. Let’s get started!
Step 1: Toasting the Nuts (Optional but Recommended!)
Before we toss everything into the food processor, I highly recommend a quick toast for your pine nuts (or your chosen alternative). This step is optional, but it really unlocks a deeper, more complex flavor in the nuts, which in turn will enrich your pesto. Place your nuts in a dry skillet over medium-low heat. Stir them frequently, watching them closely. They go from perfectly toasted to burnt very quickly! You’re looking for a light golden-brown color and a fragrant aroma. This usually takes about 3-5 minutes. Once toasted, immediately remove them from the skillet and let them cool completely on a plate. This prevents them from continuing to cook in the residual heat of the pan. If you’re using walnuts or pumpkin seeds, the toasting process is similar, just be extra vigilant as they can toast even faster than pine nuts.
Step 2: Preparing the Basil and Garlic
Now for the star of the show: the basil! Make sure your basil leaves are clean and thoroughly dried. Excess water can make your pesto watery and dilute the flavors. You can pat them dry gently with paper towels or use a salad spinner. Remove any thick stems, as these can be a bit tough and fibrous. For the garlic, I like to mince it finely before adding it to the food processor. This ensures that the garlic flavor is evenly distributed throughout the pesto and you don’t end up with a large, overpowering chunk of raw garlic. If you’re a big garlic fan, you can certainly add a bit more, just start with the recommended amount and adjust to your preference.
Step 3: Combining and Processing the Base Ingredients
This is where the magic starts to happen. If you’re using a food processor, add your toasted and cooled pine nuts (or other nuts/seeds), the minced garlic, and the salt to the bowl. Pulse a few times until the nuts are roughly chopped. Next, add the packed basil leaves. You might need to add them in batches, depending on the size of your food processor. Pulse again, scraping down the sides of the bowl as needed, until the basil is finely chopped and the mixture starts to come together. It will look a bit like a thick, green paste at this stage. If you’re using a mortar and pestle, you’ll start by grinding the garlic and salt into a paste, then add the nuts and grind them, and finally add the basil leaves and pound them until you achieve a similar consistency.
Step 4: Incorporating the Olive Oil and Lemon
Now it’s time to bring in the liquid elements and awaken all those beautiful flavors. With the food processor running on a low speed, slowly drizzle in the extra virgin extract olive oil. You want to stream it in gradually so that the pesto emulsifies and becomes creamy, rather than oily. Continue processing until the pesto reaches your desired consistency. Some people prefer a chunkier pesto, while others like it super smooth. For a smoother pesto, keep processing. For a chunkier texture, stop a little earlier. Next, add the fresh lemon juice. The lemon juice is crucial for adding brightness and acidity, which cuts through the richness of the olive oil and nuts, balancing the flavors beautifully. Start with about a tablespoon and then taste. You can always add more if you prefer a tangier pesto.
Step 5: The Secret Ingredient: Nutritional Yeast (and Tasting!)
This is the key to achieving that “cheesy” depth without the dairy. Stir in the nutritional yeast. Nutritional yeast is a deactivated yeast that has a wonderfully savory, umami, and slightly nutty flavor, reminiscent of Parmesan cheese. It’s a staple in vegan cooking for good reason! If you’re not dairy-free and are just looking for a slightly different pesto, you could technically substitute this with finely grated Parmesan cheese at this stage, but for our dairy-free mission, nutritional yeast is the hero. Process for another few seconds just to incorporate it evenly. Now comes the most important part: tasting! Give your pesto a good taste and adjust the seasoning. Does it need more salt? A bit more lemon juice for brightness? Perhaps a tiny pinch more nutritional yeast for a cheesier kick? Don’t be afraid to make it your own.
Step 6: Storing Your Delicious Creation
Once you’re happy with the flavor and consistency, your dairy-free pesto is ready to be enjoyed! To store it, transfer the pesto to an airtight container. To help preserve its vibrant green color and prevent oxidation, you can pour a thin layer of olive oil over the top before sealing the container. This creates a protective barrier. You can keep your homemade pesto in the refrigerator for about 5-7 days. For longer storage, pesto freezes beautifully! You can freeze it in ice cube trays, which makes it easy to defrost single servings, or in small freezer-safe containers. It will last for several months in the freezer. Enjoy this versatile and delicious dairy-free pesto on pasta, as a spread for sandwiches, dolloped on roasted vegetables, or even stirred into soups!
Conclusion:
And there you have it! This dairy free pesto recipe is a game-changer, offering all the vibrant, herby goodness of traditional pesto without any dairy. It’s incredibly versatile, easy to whip up, and perfect for anyone looking for a delicious alternative. I’ve found it elevates simple dishes to gourmet status in minutes, making it a staple in my kitchen. Its rich flavor comes from the fresh basil, garlic, pine nuts, and good quality olive oil, creating a truly satisfying sauce.
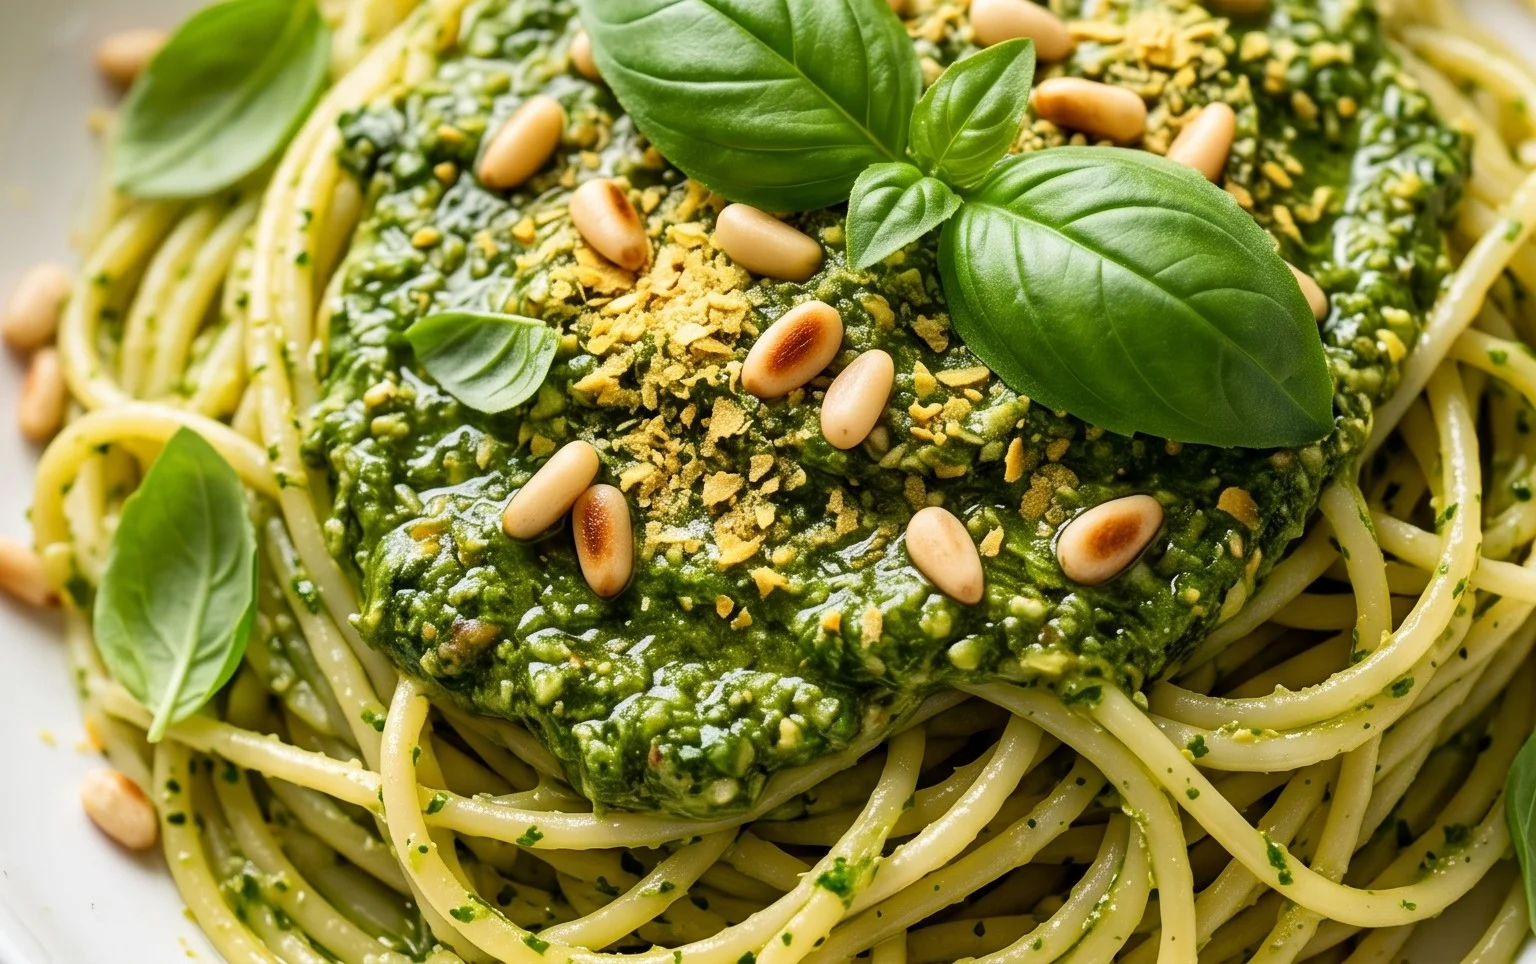
Feel free to get creative with serving! It’s fantastic tossed with gluten-free pasta, spread on toasted gluten-free bread or crackers, dolloped onto grilled vegetables or chicken, or even swirled into soups for an extra layer of flavor. Don’t be afraid to experiment with variations either. You can swap out pine nuts for walnuts or almonds for a different nutty profile, or add a pinch of red pepper flakes for a touch of heat. I even like to add a squeeze of lemon juice for brightness sometimes!
I truly encourage you to give this dairy free pesto a try. You might be surprised at how delicious and satisfying it is. It’s a testament to how fantastic plant-based cooking can be!
Frequently Asked Questions:
Can I freeze this dairy free pesto?
Absolutely! This dairy free pesto freezes beautifully. For best results, I like to spoon it into ice cube trays and freeze until solid. Once frozen, transfer the pesto cubes to a freezer-safe bag or container. This way, you can easily thaw and use individual portions as needed. It should last for several months in the freezer.
What other nuts can I use instead of pine nuts?
Pine nuts offer a classic flavor, but they can be pricey. Walnuts are an excellent and more budget-friendly alternative that works wonderfully. Almonds also provide a lovely taste and texture. If you have any nut allergies, you can even try using sunflower seeds or pepitas for a seed-based pesto!
Dairy Free Pesto
A vibrant and flavorful dairy-free pesto, perfect for pasta, sandwiches, or as a dip.
Ingredients
-
3 cups basil
-
1/2 lemon (juiced)
-
1/2 cup pine nuts (or other nut or seed like walnuts or pumpkin seeds)
-
2 cloves garlic
-
1/4 cup olive oil
-
1/2 tsp salt
-
2 tbsp nutritional yeast
Instructions
-
Step 1
Wash and thoroughly dry the basil leaves. -
Step 2
In a food processor, combine the basil, pine nuts (or alternative), garlic, and salt. -
Step 3
Pulse until the ingredients are coarsely chopped. -
Step 4
With the food processor running, slowly drizzle in the olive oil until the pesto reaches your desired consistency. -
Step 5
Add the lemon juice and nutritional yeast (if using). Pulse a few more times to combine. -
Step 6
Taste and adjust seasoning if necessary. Serve immediately or store in an airtight container in the refrigerator.
Important Information
Nutrition Facts (Per Serving)
It is important to consider this information as approximate and not to use it as definitive health advice.
Allergy Information
Please check ingredients for potential allergens and consult a health professional if in doubt.