Triple-layer Chocolate Mint Squares-Decadent Dessert Recipe
Triple-layer chocolate mint squares are a truly decadent dream come true for any dessert lover. If you’re anything like me, the mere mention of chocolate and mint together sends your taste buds into a happy dance. These triple-layer chocolate mint squares aren’t just a treat; they’re an experience. Imagin extracte a symphony of textures and flavors, starting with a crisp, chocolatey base, followed by a creamy, cool mint filling, and crowned with a rich, dark chocolate ganache. It’s this incredible layering, this perfect balance of intense chocolate and refreshing mint, that makes these squares so irresistible. They’re the perfect ending to any meal, a delightful pick-me-up on a tough day, or simply an excuse to indulge in something truly special. Get ready to fall head over heels for these triple-layer chocolate mint squares!
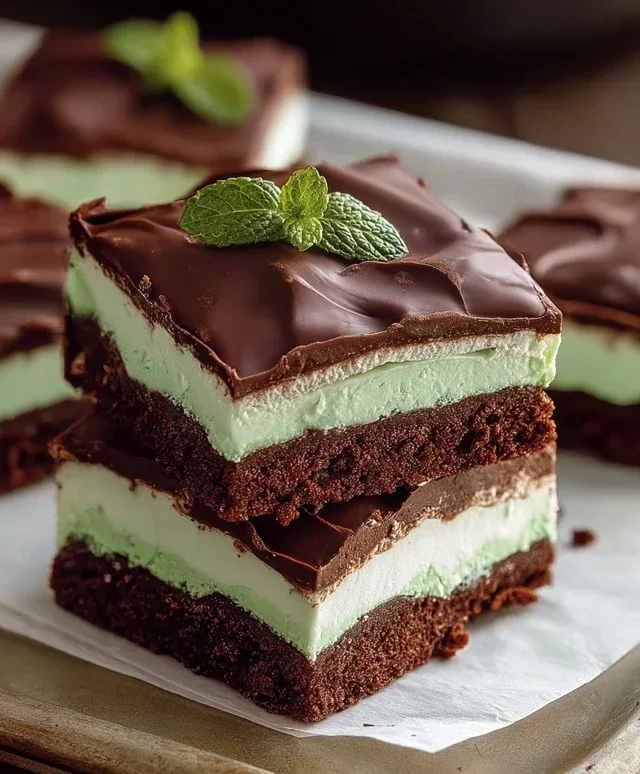
Triple-Layer Chocolate Mint Squares
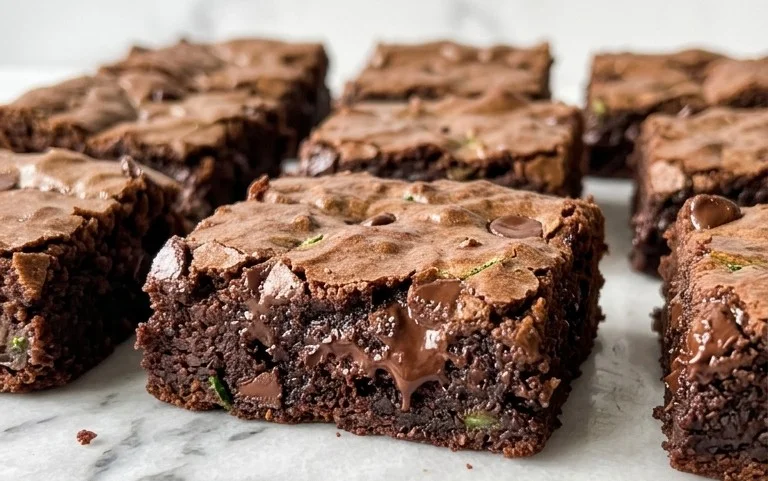
There’s something undeniably decadent about chocolate and mint. It’s a classic pairing that evokes feelings of comfort and indulgence. Now, imagin extracte that delightful combination elevated into a show-stopping, triple-layer treat. These Triple-Layer Chocolate Mint Squares are not just a dessert; they are an experience. With a fudgy chocolate base, a creamy, vibrant mint filling, and a rich chocolate ganache topping, each bite is a symphony of textures and flavors. Perfect for special occasions, holiday gatherings, or simply when you’re craving something truly extraordinary, these squares are surprisingly achievable with a little patience and a lot of love.
This recipe breaks down into three distinct, yet harmonious, layers. We’ll start with a wonderfully dense chocolate brownie base, followed by a cool and refreshing mint cream cheese frosting, and finally, a silky smooth chocolate ganache to crown it all. Don’t be intimidated by the three layers; we’ll tackle each one step-by-step, and I’ll offer tips along the way to ensure your success. Let’s get baking!
Ingredients:
Chocolate Brownie Base
Let’s begin extract by preheating your oven to 350 degrees Fahrenheit (175 degrees Celsius). Lightly grease and flour a 9×13 inch baking pan, or line it with parchment paper, leaving an overhang on the sides for easy lifting later. This step is crucial for ensuring your brownies don’t stick and you can easily remove them from the pan.
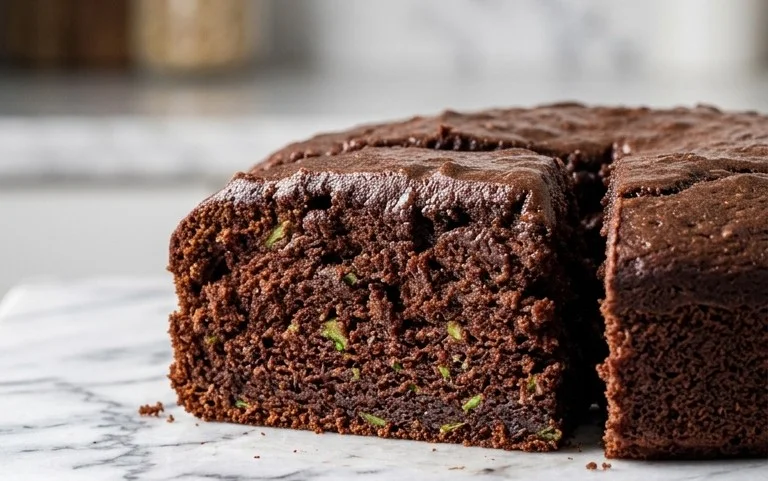
In a medium saucepan over low heat, melt 1 cup of salted butter and 4 oz. of semi-sweet chocolate chips. Stir constantly until the chocolate is completely melted and the mixture is smooth and glossy. Remove from heat and set aside to cool slightly. In a large bowl, whisk together 2 cups of granulated sugar and 2 teaspoons of vanilla extract. Gradually add the slightly cooled chocolate butter mixture to the sugar, whisking until well combined. Next, beat in 4 large eggs, one at a time, ensuring each egg is fully incorporated before adding the next. This will create a beautiful, emulsified base. Finally, gently fold in 1 ½ cups of all-purpose flour until just combined. Be careful not to overmix the batter, as this can lead to tough brownies. The batter will be thick and fudgy. Pour the batter into your prepared baking pan and spread it evenly. Bake for 25-30 minutes, or until a toothpick inserted into the center comes out with moist crum extractbs attached, not wet batter. Overbaking will result in a dry base, so keep a close eye on it. Let the brownie base cool completely in the pan on a wire rack. This cooling period is essential before adding the next layer, otherwise, the heat from the base can melt the frosting.
Mint Cream Cheese Filling
While the brownie base is cooling, we’ll prepare the vibrant mint filling. In a large bowl, beat ¾ cup of softened salted butter with an electric mixer until it’s light and fluffy. This creaming process incorporates air, which contributes to a smooth and airy texture in your frosting. Add 3 cups of powdered sugar, about a cup at a time, beating well after each addition. Make sure to scrape down the sides of the bowl periodically to ensure all the sugar is incorporated. This will create a thick, sweet foundation for our filling. In a separate small bowl, whisk together 1 tablespoon of heavy whipping cream, 1 teaspoon of peppermint extract, and 10 drops of green food coloring. The food coloring is what gives this layer its signature beautiful minty hue, so feel free to adjust the amount to achieve your desired shade of green. Gradually add the peppermint cream mixture to the butter and powdered sugar mixture, beating on low speed until just combined, then increase to medium speed and beat for another 2-3 minutes until the frosting is smooth and creamy. It should be a lovely, bright green. Once the brownie base is completely cool, spread this mint cream cheese filling evenly over the top. You can use an offset spatula for a smooth, professional finish. Place the pan in the refrigerator for at least 30 minutes to allow the mint layer to firm up slightly before adding the ganache. This chilling step helps the ganache set nicely and prevents it from sinking into the mint layer.
Chocolate Ganache Topping
The final touch that brings these squares together is a luxurious chocolate ganache. In a heatproof bowl, combine 3 cups of semi-sweet chocolate chips and 2 tablespoons of butter. In a small saucepan, heat ½ cup of heavy whipping cream over medium heat until it just begin extracts to simmer around the edges. Do not let it boil. Pour the hot cream over the chocolate chips and butter. Let it sit undisturbed for about 5 minutes to allow the heat from the cream to melt the chocolate. After 5 minutes, gently whisk the mixture starting from the center and working your way outwards, until the ganache is completely smooth and glossy. The key here is gentle whisking to avoid incorporating too much air, which can make the ganache look dull. Once the ganache has cooled slightly and is pourable but not too hot, carefully pour it over the chilled mint filling. Gently spread it evenly with an offset spatula to create a smooth, shiny surface. Let the ganache set at room temperature for about 30 minutes, then refrigerate the entire pan for at least 2-3 hours, or until the ganache is firm to the touch. This chilling time is crucial for the ganache to set properly, allowing for clean cuts.
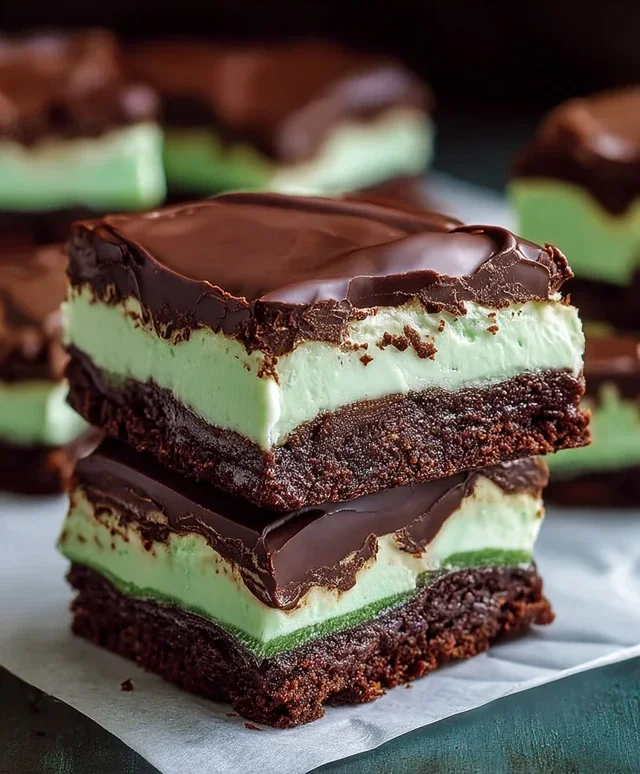
Once the ganache has set, carefully lift the entire slab out of the pan using the parchment paper overhang. Place it on a cutting board and use a sharp knife, wiped clean between cuts, to slice the chocolate mint squares into your desired size. For a truly impressive presentation, serve them chilled. Enjoy the layers of fudgy chocolate, cool mint, and rich ganache!
Conclusion:
There you have it – the ultimate guide to creating these absolutely decadent triple-layer chocolate mint squares! This recipe is a winner because it strikes that perfect balance between rich, fudgy chocolate and refreshing mint, all within a convenient bar format. The interplay of textures, from the crum extractbly base to the smooth ganache and the light, airy mousse, makes each bite an experience. They’re perfect for any occasion, from a simple weeknight treat to a show-stopping dessert at a party. Don’t be intimidated by the layers; each step is manageable and well worth the effort for the incredible flavor payoff.
I highly encourage you to give these triple-layer chocolate mint squares a try. They are surprisingly easy to customize and share. For serving, consider dusting them with a little cocoa powder or a sprinkle of chocolate shavings for an extra touch of elegance. You could also pair them with a dollop of whipped cream or a scoop of vanilla ice cream for a truly indulgent dessert. Thinking about variations? You can experiment with different types of chocolate, perhaps dark chocolate for a more intense flavor, or even a swirl of white chocolate in the ganache. If mint isn’t your favorite, a hint of coffee or raspberry extract could also be delicious.
Frequently Asked Questions:
Can I make these triple-layer chocolate mint squares ahead of time?
Absolutely! These bars are fantastic for making ahead. In fact, I find the flavors meld beautifully after chilling for a few hours or even overnight. Store them in an airtight container in the refrigerator.
How long do these chocolate mint squares last?
Stored properly in an airtight container in the refrigerator, these bars should stay fresh and delicious for about 4-5 days. They tend to be the best within the first couple of days, but they’re still delightful longer.
Can I freeze these chocolate mint squares?
Yes, freezing is a great option if you want to save some for later! Cut them into individual squares, wrap them tightly in plastic wrap, and then place them in a freezer-safe container. Thaw them in the refrigerator overnight before enjoying.
Triple-layer Chocolate Mint Squares
Decadent triple-layer chocolate mint squares featuring a rich chocolate base, a creamy mint filling, and a smooth chocolate ganache topping.
Ingredients
-
1 cup salted butter
-
4 oz. semi-sweet chocolate chips
-
2 cups granulated sugar
-
2 teaspoons vanilla extract
-
1 ½ cups all-purpose flour
-
4 large eggs
-
¾ cup salted butter, softened
-
3 cups powdered sugar
-
1 tablespoon heavy whipping cream
-
1 teaspoon peppermint extract
-
10 drops green food coloring
-
3 cups semi-sweet chocolate chips
-
2 tablespoons butter
-
½ cup heavy whipping cream
Instructions
-
Step 1
Preheat oven to 350°F (175°C). Grease and flour a 9×13 inch baking pan. -
Step 2
For the crust: Melt 1 cup salted butter and 4 oz. semi-sweet chocolate chips in a saucepan over low heat. Stir until smooth. Remove from heat and mix in 2 cups granulated sugar and 2 teaspoons vanilla extract. Gradually stir in 1 ½ cups all-purpose flour and 4 large eggs until just combined. Spread evenly into the prepared baking pan. -
Step 3
Bake the crust for 25-30 minutes, or until a toothpick inserted into the center comes out clean. Let cool completely. -
Step 4
For the mint filling: Beat ¾ cup softened salted butter until creamy. Gradually beat in 3 cups powdered sugar, 1 tablespoon heavy whipping cream, and 1 teaspoon peppermint extract. Mix in 10 drops green food coloring until evenly colored. Spread evenly over the cooled crust. -
Step 5
For the ganache topping: Melt 3 cups semi-sweet chocolate chips, 2 tablespoons butter, and ½ cup heavy whipping cream in a microwave-safe bowl in 30-second intervals, stirring in between, until smooth and glossy. Pour evenly over the mint filling. -
Step 6
Chill for at least 1 hour before cutting into squares.
Important Information
Nutrition Facts (Per Serving)
It is important to consider this information as approximate and not to use it as definitive health advice.
Allergy Information
Please check ingredients for potential allergens and consult a health professional if in doubt.