Chewy Mochi Ice Cream- Homemade Delight
Mochi Ice Cream is a delightful dance of textures and flavors that has captured the hearts (and taste buds) of dessert lovers worldwide. Imagin extracte this: a chewy, slightly sweet mochi dough, perfectly molded to cradle a scoop of your favorite ice cream. It’s this incredible contrast – the yielding softness of the mochi giving way to the creamy chill of the ice cream – that makes Mochi Ice Cream so utterly irresistible. People adore it not just for its unique mouthfeel, but also for its inherently portable and bite-sized nature, making it a perfect treat for parties or a personal indulgence. What truly sets this dessert apart is its artisanal charm; each piece feels like a little culinary masterpiece, a testament to the simple yet profound joy that can be found in carefully crafted sweets. We’re about to dive into how you can recreate this magical experience right in your own kitchen, transforming simple ingredients into these extraordinary frozen delights.
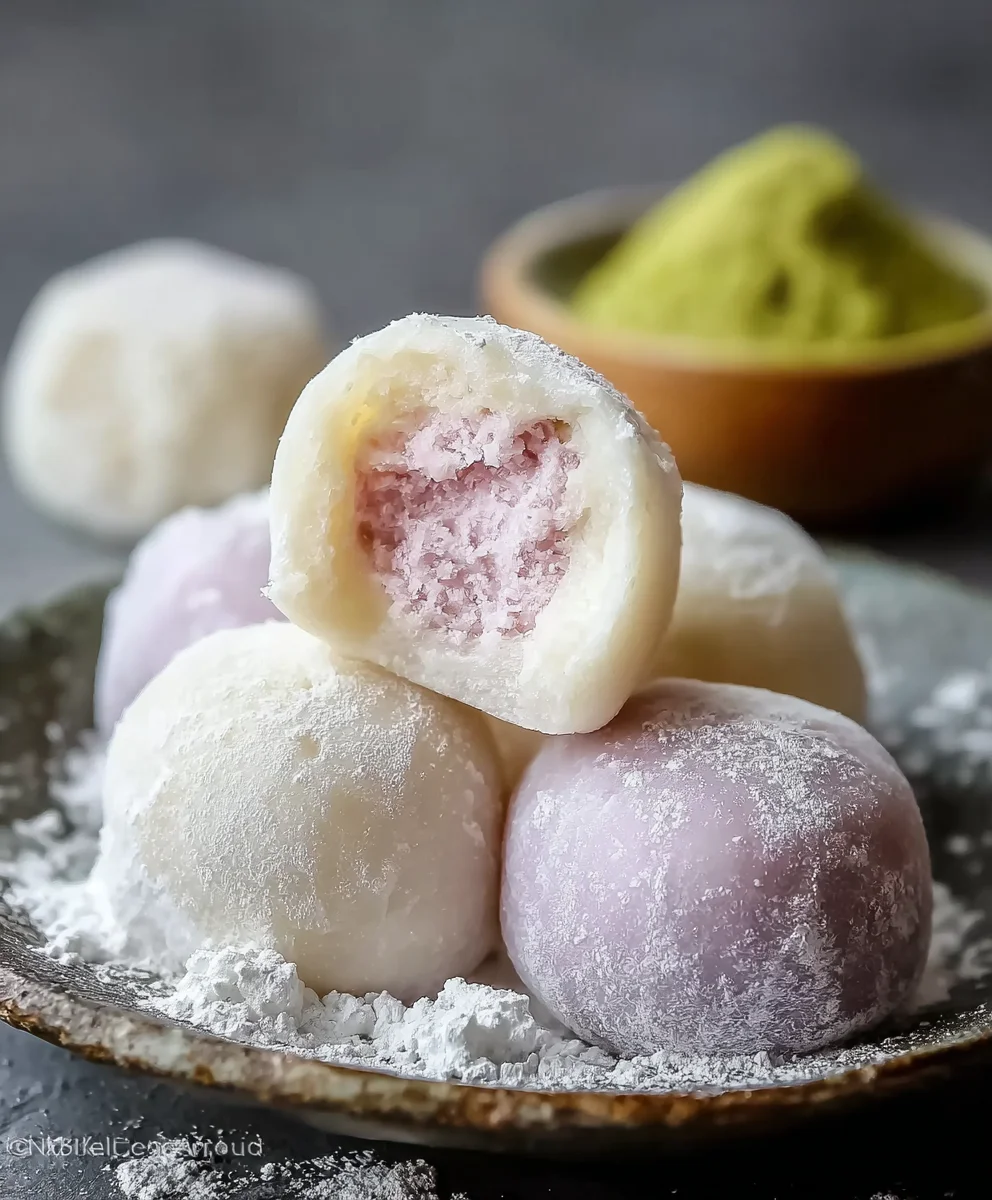
Ingredients:
- 1 cup glutinous rice flour (also known as sweet rice flour)
- 1/4 cup granulated sugar
- 2 tablespoons powdered sugar (for dusting)
- 1 cup water
- Cornstarch, for dusting
- Your favorite flavor of ice cream
Preparing the Mochi Dough
Step 1: Combine Dry Ingredients
In a medium-sized, microwave-safe bowl, whisk together the glutinous rice flour and the granulated sugar. Ensure these dry ingredients are thoroughly combined. This step is crucial for an even texture in your mochi. Glutinous rice flour has a unique property that allows it to become sticky and elastic when cooked, forming the characteristic chewy texture of mochi. The granulated sugar not only adds sweetness but also helps to tenderize the dough.
Step 2: Add Water and Mix
Gradually add the 1 cup of water to the dry ingredients, stirring continuously with a whisk or a spatula. You want to create a smooth batter, free of lumps. It will have a consistency similar to pancake batter at this stage. If you find any stubborn lumps, don’t worry too much; a good stir will help incorporate them as you go. This mixture will be cooked in the microwave, so using a microwave-safe bowl is essential for safety and convenience.
Step 3: Microwave the Mochi Dough (First Cook]
Cover the bowl with plastic wrap, leaving a small corner slightly ajar to allow steam to escape. Microwave on high power for 1 minute. Carefully remove the bowl from the microwave using oven mitts, as it will be hot. Stir the mixture vigorously with a wet spatula or spoon. You’ll notice it has thickened considerably and may have opaque patches. The goal here is to begin extract the cooking process and initiate the gelatinization of the glutinous rice flour.
Step 4: Microwave and Stir Again
Re-cover the bowl with plastic wrap, again leaving a small vent. Microwave on high power for another 1 minute. Carefully remove and stir again. The dough should be more translucent and even thicker now. Repeat this microwaving and stirring process one more time: microwave for 1 minute, then remove and stir. You are looking for a smooth, sticky, and slightly translucent dough that pulls away from the sides of the bowl. The total microwaving time will be about 3 minutes, with 3 stirring intervals.
Shaping the Mochi
Step 5: Dust and Knead the Mochi Dough
Generously dust a clean work surface with cornstarch. This is a critical step to prevent the extremely sticky mochi dough from adhering to your hands and the counter. Carefully scrape the hot mochi dough from the bowl onto the cornstarch-dusted surface. Allow it to cool for a minute or two, just enough so you can handle it without burning yourself, but still warm. Lightly dust your hands with cornstarch and gently knead the dough for a minute or two. You can also use a lightly cornstarch-dusted rolling pin if you prefer. The dough should become smoother and slightly more pliable.
Step 6: Divide and Flatten the Mochi Dough
Divide the mochi dough into equal portions, depending on how many mochi ice cream balls you want to make. A good starting point is to aim for 6-8 portions if you are using standard-sized scoops of ice cream. Roll each portion into a ball, then flatten it into a disc using your cornstarch-dusted hands or the rolling pin. The discs should be about 3-4 inches in diameter and thin enough to wrap around the ice cream, but not so thin that they tear easily. Aim for a thickness of about 1/8 inch.
Step 7: Encase the Ice Cream
This is where the magic happens! Have your ice cream ready, pre-scooped into balls and kept frozen solid. Place a flattened mochi disc in your cornstarch-dusted palm. Place a frozen ice cream scoop in the center of the disc. Gently gather the edges of the mochi dough up and around the ice cream, pinching and sealing the seams at the top. Work quickly to prevent the ice cream from melting and the mochi from warming up too much. If any dough sticks to your fingers, re-dust with cornstarch. You can carefully twist the top to create a neat seal, or simply pinch it closed. Ensure there are no gaps where the ice cream can leak out.
Step 8: Freeze the Mochi Ice Cream
Once each mochi ice cream ball is formed and senon-alcoholic aled, place it on a parchment-lined baking sheet or plate. Make sure the mochi balls are not touching each other. Transfer the baking sheet to the freezer and freeze for at least 2-3 hours, or until the mochi is firm and the ice cream is completely solid. This freezing time is essential for the mochi to set and for the ice cream to regain its firmness. For best results, enjoy your homemade Mochi Ice Cream within a few weeks.
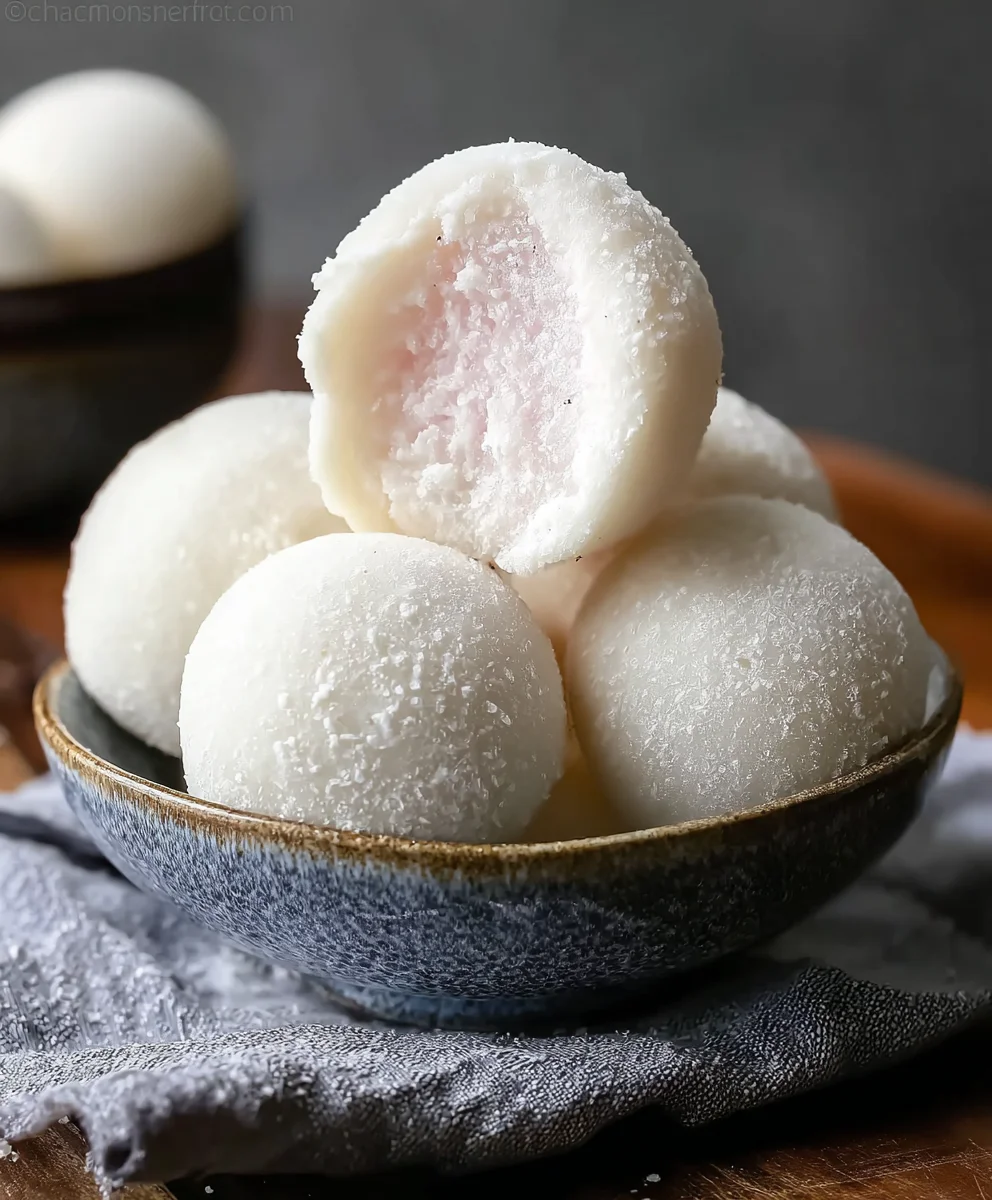
Conclusion:
And there you have it – your guide to creating delightful homemade Mochi Ice Cream! We’ve walked through the steps of crafting those chewy, sweet mochi wrappers and pairing them with your favorite frozen delights. The beauty of Mochi Ice Cream lies in its versatility. Feel free to experiment with different ice cream flavors, from classic vanilla and chocolate to more adventurous matcha or strawberry. For an extra touch of elegance, consider garnishing your finished Mochi Ice Cream with a sprinkle of toasted sesame seeds or a drizzle of sweetened condensed milk before serving. Remember, practice makes perfect, so don’t be discouraged if your first batch isn’t flawless. The joy of making and sharing these unique treats is truly rewarding. Enjoy every bite of your homemade Mochi Ice Cream!
Frequently Asked Questions about Mochi Ice Cream:
Can I make the mochi wrappers ahead of time?
Yes, you can absolutely make the mochi wrappers ahead of time. Once cooled and a bit sticky, wrap them tightly in plastic wrap and refrigerate for up to 2 days. When you’re ready to assemble your Mochi Ice Cream, let the wrappers come to room temperature for about 15-20 minutes, or gently warm them for a few seconds in the microwave (carefully!) if they feel too stiff.
What kind of ice cream works best for Mochi Ice Cream?
The best ice cream for Mochi Ice Cream is typically a denser, richer ice cream that freezes relatively hard. Softer, whipped ice creams can be a bit too messy to work with. Scoops that have been pre-frozen until very firm are ideal. Think of classic flavors like vanilla, chocolate, strawberry, or even coffee. Ensure your ice cream scoops are small enough to be fully enclosed by the mochi wrapper.
Chewy Mochi Ice Cream – Homemade Delight
Create delightful chewy mochi ice cream at home with this easy-to-follow recipe. Perfect for a sweet treat!
Ingredients
-
1 cup glutinous rice flour (sweet rice flour)
-
1/4 cup granulated sugar
-
2 tablespoons powdered sugar (for dusting)
-
1 cup water
-
Cornstarch, for dusting
-
Your favorite flavor of ice cream
Instructions
-
Step 1
In a medium-sized, microwave-safe bowl, whisk together the glutinous rice flour and granulated sugar. Ensure these dry ingredients are thoroughly combined. -
Step 2
Gradually add the 1 cup of water to the dry ingredients, stirring continuously to create a smooth batter, free of lumps. -
Step 3
Cover the bowl with plastic wrap, leaving a small corner slightly ajar. Microwave on high power for 1 minute. Stir vigorously with a wet spatula or spoon. Repeat this microwaving and stirring process two more times for a total of approximately 3 minutes of microwaving and 3 stirring intervals. -
Step 4
Generously dust a clean work surface with cornstarch. Carefully scrape the warm mochi dough onto the surface, allow to cool slightly, then gently knead for a minute or two until smoother. -
Step 5
Divide the mochi dough into equal portions. Roll each portion into a ball and then flatten it into a disc about 3-4 inches in diameter and 1/8 inch thick. -
Step 6
Place a flattened mochi disc in your cornstarch-dusted palm. Place a frozen ice cream scoop in the center. Gently gather the edges of the mochi dough up and around the ice cream, pinching and sealing the seams at the top. -
Step 7
Place the formed mochi ice cream balls on a parchment-lined baking sheet, ensuring they are not touching. Freeze for at least 2-3 hours, or until firm.
Important Information
Nutrition Facts (Per Serving)
It is important to consider this information as approximate and not to use it as definitive health advice.
Allergy Information
Please check ingredients for potential allergens and consult a health professional if in doubt.