Easy Roasted Summer Squash Recipe-Flavorful Side Dish
Roasted Summer Squash is more than just a side dish; it’s a vibrant celebration of sunshine and simple, delicious flavors. As the days grow longer and the garden bursts with bounty, there’s nothing quite like transforming humble zucchini, yellow squash, and pattypan squash into a culinary masterpiece. We love this dish because it’s incredibly versatile, allowing the natural sweetness of the vegetables to shine through without being overpowered. What truly makes roasted summer squash special is the magic of the oven. A little olive oil, a sprinkle of salt and pepper, and the high heat coax out those delightful caramelization notes, creating tender, slightly crispy edges that are utterly irresistible. It’s the perfect accompaniment to grilled meats, a flavorful addition to salads, or simply enjoyed on its own as a light and healthy snack. Get ready to experience summer squash like never before!
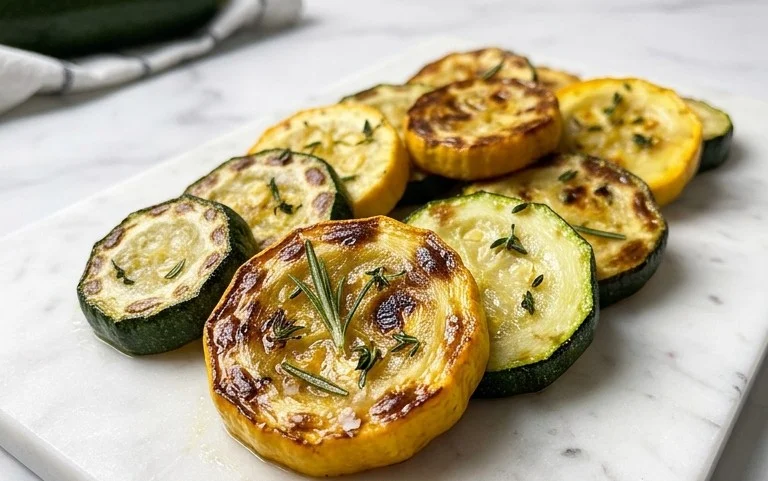
Roasted Summer Squash
Summer is the season of abundance, and for me, that means a bounty of vibrant summer squash. Zucchini, yellow squash, pattypan – they’re all delicious, versatile, and at their peak flavor right now. While I love them in stir-fries or grilled, my absolute favorite way to enjoy summer squash is roasted. Roasting brings out their natural sweetness, intensifies their flavor, and creates a wonderfully tender yet slightly crisp texture that’s utterly irresistible. This simple recipe is my go-to for a quick and healthy side dish that’s packed with flavor and incredibly easy to whip up, even on a busy weeknight. The combination of salty Parmesan, zesty lemon pepper, and a hint of smoky paprika elevates humble squash into something truly special.
Ingredients:
Cooking Instructions
This recipe is designed to be straightforward and forgiving, perfect for cooks of all levels. The key is to get your oven nice and hot, which allows the squash to caramelize beautifully.
1. Preheat Your Oven and Prepare the Squash
First things first, let’s get our oven ready for action. Preheat it to 400 degrees Fahrenheit (200 degrees Celsius). This higher temperature is crucial for achieving that lovely roasted texture. While the oven heats up, it’s time to prep our star ingredient. Wash your summer squash thoroughly under cool running water. For this recipe, I find that using a mix of zucchini and yellow squash adds a nice visual appeal and a slight variation in flavor, but feel free to use whichever you have on hand, or just one type. Trim off the ends of the squash. Then, cut the squash into bite-sized pieces. Uniformity is helpful here so that everything cooks evenly. I usually aim for pieces about ½ inch thick, either sliced into rounds or cut lengthwise into half-moons. If your squash are on the larger side, you might want to cut them into quarters lengthwise before slicing to ensure they aren’t too large. The goal is to have pieces that will cook through in about 15-20 minutes.
2. Seasoning the Squash
Once your squash is cut, it’s time to dress it up for its roast. Place the prepared squash pieces into a medium-sized mixing bowl. Drizzle the tablespoon of olive oil over the squash. Olive oil is fantastic for roasting as it helps to conduct heat, promoting even browning and preventing sticking. Now, let’s add our flavor enhancers. Sprinkle the lemon pepper seasoning, paprika, and kosher salt over the squash. Give everything a gentle toss with your hands or a large spoon, ensuring that each piece of squash is lightly coated with the oil and seasonings. This initial coating is the foundation of the delicious flavor that will develop in the oven. Don’t be shy with the seasoning; it’s what will make these humble vegetables sing!
3. Adding the Crispy Topping
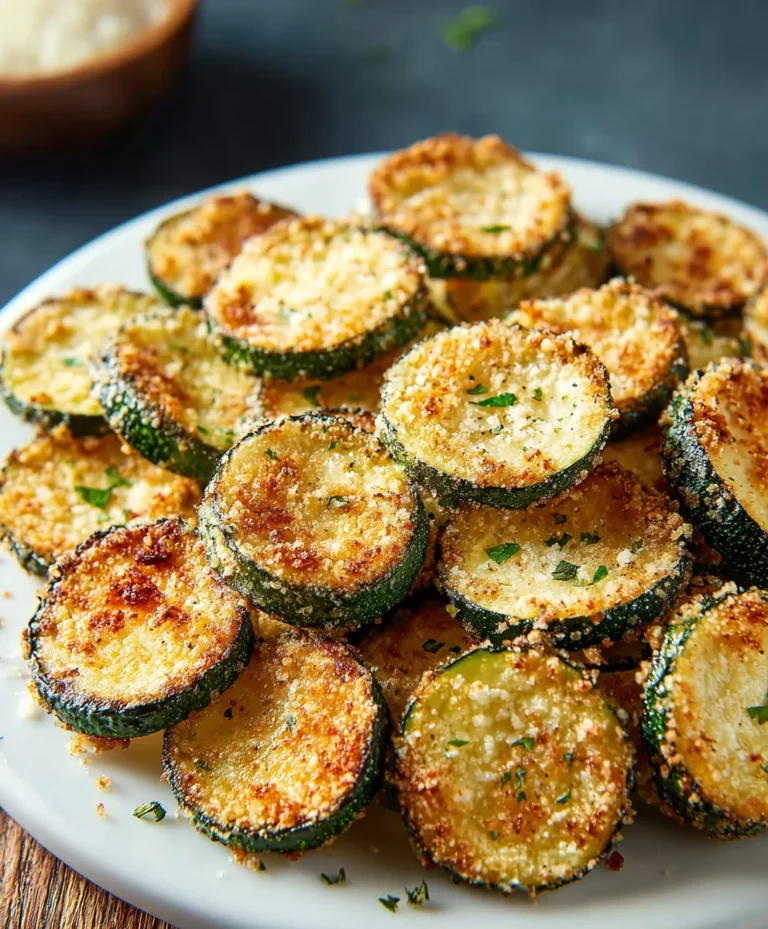
Now for the magic touch that takes this dish from good to great! In a small separate bowl, combine the grated Parmesan cheese and the Panko bread crum extractbs. Panko bread crum extractbs are wonderful because they are larger and drier than regular bread crum extractbs, which means they crisp up beautifully in the oven, providing a delightful crunchy contrast to the tender squash. Give these a quick stir to combine. Sprinkle this Parmesan-Panko mixture evenly over the seasoned squash in the larger bowl. Toss everything together one more time, gently, to distribute the cheesy, crunchy coating throughout the squash pieces. You want to ensure that each piece has a nice, even layer of this delicious topping. This step is what adds that irresistible savory crunch that makes everyone ask for seconds.
4. Roasting to Perfection
It’s time to get these beauties into the oven! Spread the seasoned and coated squash in a single layer on a baking sheet. Using a baking sheet lined with parchment paper (optional, but it makes for easier cleanup!) or lightly greased will help prevent sticking. Avoid overcrowding the baking sheet; if the squash pieces are piled on top of each other, they will steam rather than roast, and you won’t achieve that desirable caramelization and crispiness. If necessary, use two baking sheets. Place the baking sheet(s) into the preheated oven. Roast for 15 to 20 minutes. The exact time will depend on the size of your squash pieces and your oven. You’ll know they’re ready when the squash is tender when pierced with a fork and the Parmesan-Panko topping is golden brown and crispy. I like to give the baking sheet a gentle shake about halfway through the roasting time to ensure even cooking and browning.
5. Serving and Enjoying
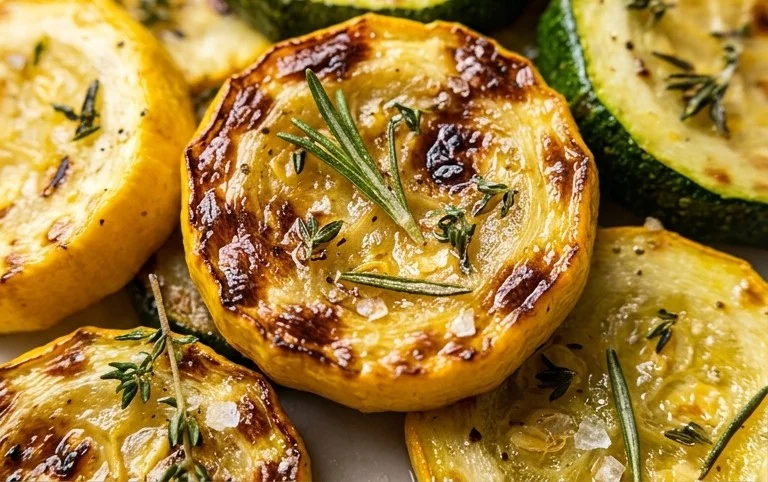
Once your roasted summer squash is golden and fragrant, carefully remove the baking sheet from the oven. The aroma will be heavenly! Let it sit for just a minute or two before serving. This roasted summer squash is incredibly versatile. It makes a perfect side dish for grilled chicken, fish, or steak. It’s also delicious tossed into pasta salads, added to grain bowls, or even served as a light vegetarian main course with a dollop of Greek yogurt or a sprinkle of fresh herbs. The combination of tender, slightly sweet squash with the salty, crispy topping is a flavor and texture sensation that’s hard to beat. I often find myself just eating it straight off the baking sheet as it cools! Enjoy this simple yet incredibly satisfying taste of summer.
Conclusion:
I hope you’re inspired to give this simple yet incredibly satisfying Roasted Summer Squash recipe a try! It’s a fantastic way to highlight the natural sweetness and delicate texture of summer produce. The beauty of this dish lies in its simplicity; a few basic ingredients and a hot oven transform humble squash into a flavorful side that bursts with sunshine. It’s incredibly versatile, making it a perfect addition to any weeknight meal or a delightful component of a larger summer spread. Don’t be afraid to experiment with the suggested variations – that’s where the real fun of cooking begin extracts!
Serve this roasted summer squash alongside grilled chicken, fish, or steak, or as a vibrant vegetarian main with a side of quinoa. It also makes a wonderful addition to pasta dishes or can be tossed with fresh herbs and a squeeze of lemon for an extra zesty kick. I truly encourage you to embrace the ease and deliciousness of this recipe. It’s a testament to how wonderful simple, fresh ingredients can be when prepared with a little love.
Frequently Asked Questions:
What other vegetables can I roast with the summer squash?
You can absolutely add other seasonal vegetables! Bell peppers (any color), red onions, zucchini (if you want to mix your squash types!), cherry tomatoes, or even broccoli florets are wonderful additions. Just make sure to cut them to a similar size for even roasting.
Can I make this recipe ahead of time?
While best enjoyed fresh, you can roast the squash ahead of time and reheat it gently. It might lose a little of its crispness, but the flavor will still be lovely. It’s also delicious served at room temperature or even cold in salads.
What are some herb or spice variations I can try?
The possibilities are endless! For a Mediterranean twist, try adding dried oregano, thyme, or a pinch of red pepper flakes. Fresh basil, parsley, or dill tossed in after roasting add a wonderful brightness. A touch of garlic powder or onion powder can also boost the savory notes.
Roasted Summer Squash
Simple and flavorful roasted summer squash with a Parmesan and Panko crust, perfect for a quick side dish.
Ingredients
-
1 pound summer squash (about 2 medium)
-
1 tablespoon olive oil
-
2 tablespoons grated Parmesan cheese
-
1 tablespoon Panko bread crumbs
-
1 teaspoon lemon pepper seasoning
-
½ teaspoon paprika
-
½ teaspoon kosher salt (or to taste)
Instructions
-
Step 1
Preheat your oven to 400°F (200°C). -
Step 2
Wash the summer squash and trim off the ends. Cut the squash into ½-inch thick rounds or half-moons. -
Step 3
In a medium bowl, toss the squash with olive oil, lemon pepper seasoning, paprika, and kosher salt until evenly coated. -
Step 4
Spread the seasoned squash in a single layer on a baking sheet. -
Step 5
Roast for 15 minutes, then carefully flip the squash pieces. -
Step 6
In a small bowl, combine the grated Parmesan cheese and Panko bread crumbs. Sprinkle this mixture evenly over the roasted squash. -
Step 7
Continue roasting for another 5-10 minutes, or until the squash is tender and the topping is golden brown and crispy.
Important Information
Nutrition Facts (Per Serving)
It is important to consider this information as approximate and not to use it as definitive health advice.
Allergy Information
Please check ingredients for potential allergens and consult a health professional if in doubt.