Buttery Garlic Pizza – Easy Flavor Bomb Recipe
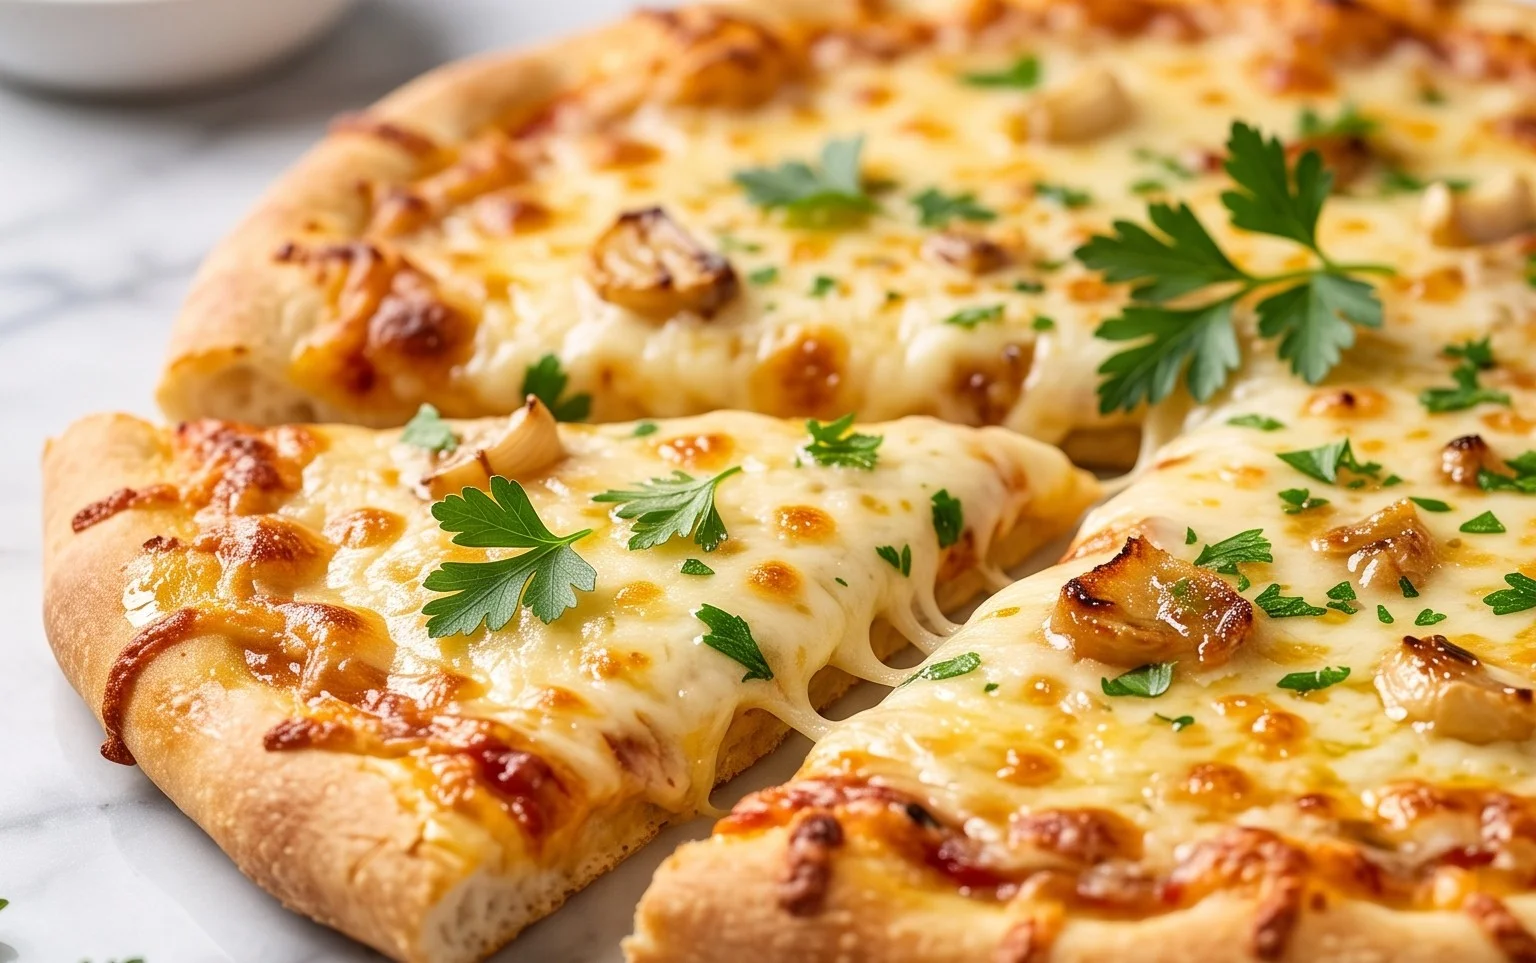
Buttery garlic pizza is the kind of dish that whispers sweet nothings to your taste buds and begs for an encore. Forget complicated toppings and lengthy preparations; sometimes, the simplest things truly are the most sublime. We all crave that comforting, familiar embrace of a perfectly baked pizza, and this buttery garlic pizza delivers it in spades. What is it about this unassuming combination that captures our hearts (and stomachs)? It’s the irresistible allure of rich, melted butter infused with the pungent, aromatic magic of roasted garlic. This duo transforms a humble pizza crust into a golden, flavor-packed canvas. It’s a symphony of savory notes, a delightful dance between creamy richness and sharp, herbaceous punch that’s utterly addictive. Prepare yourself for a truly crave-worthy experience.
Are you ready to create your own slice of heaven?
Buttery Garlic Pizza
Get ready to experience pizza night like never before with this incredibly flavorful Buttery Garlic Pizza. Forget your usual tomato sauce; we’re diving headfirst into a world of rich, aromatic butter infused with garlic and fresh herbs. This recipe is incredibly simple to make, yet it delivers a sophisticated and deeply satisfying flavor profile that will have everyone asking for seconds. It’s the perfect weekend treat, a crowd-pleaser for guests, or simply a delightful way to elevate your regular pizza routine. The beauty of this pizza lies in its simplicity, allowing the quality of the ingredients to shine.
Ingredients:
Preparation and Assembly
The magic of this pizza starts with creating our intensely flavored garlic butter. This isn’t just any melted butter; it’s a fragrant concoction that forms the base for our toppings.
1. Melt the butter in a small saucepan over low heat. We want a gentle melt here to avoid scorching the butter, which can give it an unpleasant bitter taste. Once the butter is mostly melted, add your chopped garlic cloves. Stir the garlic into the butter and let it infuse over low heat for about 5-7 minutes. You’ll notice the aroma of garlic intensifying, and the butter will start to take on a slightly golden hue. This slow infusion process is key to extracting the maximum garlic flavor without burning the delicate garlic pieces. Keep an eye on it – we’re not looking to fry the garlic, just to gently coax its essence into the butter.
2. Once the garlic has infused, stir in the minced rosemary and fresh thyme. These herbs add a wonderful complexity and freshness to the garlic butter. Continue to cook for another minute or two, allowing the heat to release their aromatic oils. The kitchen will smell absolutely divine at this point! Remove the saucepan from the heat and set aside. This infused butter will be the “sauce” for our pizza, providing a rich and savory foundation.
3. Prepare your pizza dough. If your dough has been refrigerated, allow it to come to room temperature for at least 30 minutes to an hour. This makes it much easier to stretch and shape without it springin extractg back. Lightly flour your work surface and your hands. Gently stretch or roll out each dough ball into your desired pizza shape, roughly 10-12 inches in diameter. Don’t worry if it’s not perfectly round; rustic is often best for homemade pizza! If you find the dough is resisting, let it rest for 5-10 minutes and then try again. This allows the gluten to relax.
4. Now it’s time to assemble. Carefully transfer your stretched pizza dough onto a pizza peel dusted with cornmeal or flour, or directly onto a baking sheet lined with parchment paper if you don’t have a peel. Brush a generous amount of the warm, herb-infused garlic butter over the entire surface of the dough, making sure to get close to the edges. You want a good coating, but don’t drown the dough. This butter will bake into the crust, making it incredibly tender and flavorful. Season the buttered dough with a pinch of flaky salt and a good grind of black pepper.
Baking the Buttery Garlic Pizza
The baking process is where the magic truly happens, transforming our simple ingredients into a golden, bubbly masterpiece.
5. Preheat your oven to its highest setting, typically between 475°F and 500°F (245°C-260°C). If you have a pizza stone or steel, place it in the oven while it preheats for at least 30 minutes. This will ensure a perfectly crispy crust. Carefully slide your assembled pizza onto the preheated pizza stone or place the baking sheet in the oven. Bake for 10-15 minutes, or until the crust is golden brown and the cheese (if you choose to add any – this pizza is also delicious without cheese!) is melted and bubbly. Keep an eye on it, as oven temperatures can vary.
6. Once the pizza is out of the oven, immediately sprinkle it with the minced green onion, minced chives, and red pepper flakes to your liking. The residual heat from the pizza will slightly soften the chives and green onion, releasing their fresh, pungent flavors. A final flourish of flaky salt and freshly ground black pepper enhances all the savory notes. Let the pizza rest for a minute or two before slicing and serving. This allows the toppings to set and prevents the pizza from falling apart. Enjoy the incredible aroma and the rich, buttery, garlicky goodness in every bite! This Buttery Garlic Pizza is a testament to how simple ingredients can create something truly spectacular.
Conclusion:
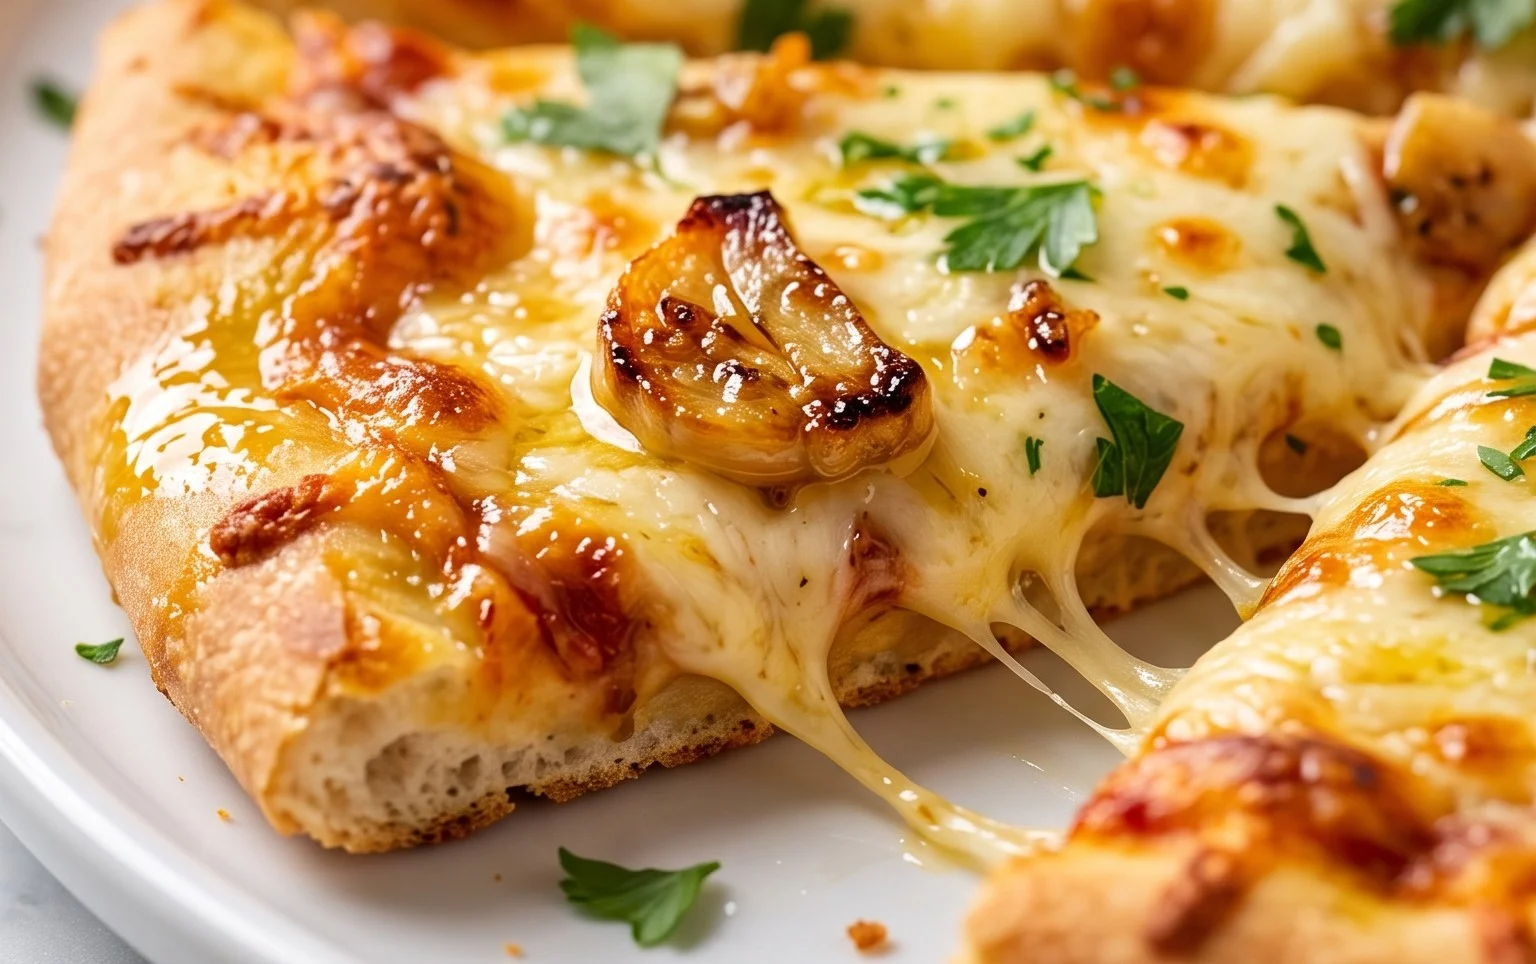
There you have it – the ultimate guide to creating your very own buttery garlic pizza! This recipe truly shines because of its incredibly simple yet incredibly satisfying flavor profile. The rich, melted butter infused with pungent garlic, paired with a perfectly baked crust, creates a sensory experience that’s hard to beat. It’s a fantastic option for a quick weeknight dinner, a crowd-pleasing appetizer, or even a comforting snack. The beauty of this buttery garlic pizza lies in its versatility, making it a recipe you’ll return to again and again.
For serving, I love to pair it with a fresh, crisp green salad to balance the richness. It also makes a wonderful side dish for soups or stews. Don’t be afraid to get creative with variations! Consider adding a sprinkle of fresh herbs like parsley or chives before baking, or a scattering of grated Parmesan cheese for an extra layer of savory goodness. You could even try a drizzle of balsamic glaze after it comes out of the oven. I truly encourage you to give this recipe a try – I’m confident you’ll love the delicious results!
Frequently Asked Questions:
Can I use pre-made pizza dough?
Absolutely! Using pre-made pizza dough is a fantastic shortcut and will still yield delicious results. Just follow the baking instructions on your dough package and adapt the buttery garlic topping process as described in the recipe.
What other toppings would work well?
This buttery garlic pizza is a wonderful base for many toppings! Consider adding sautéed mushrooms, caramelized onions, roasted red peppers, or even some cooked chicken or Italian sausage for a heartier meal. A touch of mozzarella cheese also melts beautifully on top.
Buttery Garlic Pizza
A simple yet flavorful pizza with a rich garlic butter sauce, fresh herbs, and a hint of spice.
Ingredients
-
1 recipe artisan pizza dough (2 dough balls)
-
1 stick salted butter
-
3 garlic cloves, chopped
-
2 tbsp minced green onion
-
1 tbsp minced rosemary
-
1 tbsp fresh thyme
-
flaky salt
-
freshly ground black pepper
-
red pepper flakes, to taste
-
2 tbsp minced chives
Instructions
-
Step 1
Preheat oven to 475°F (245°C). -
Step 2
Melt butter in a small saucepan over low heat. Add chopped garlic and cook until fragrant, about 1-2 minutes. Do not brown. -
Step 3
Stir in minced green onion, minced rosemary, and fresh thyme into the garlic butter. Season with flaky salt and freshly ground black pepper. -
Step 4
Stretch or roll out pizza dough to desired thickness. Place on a pizza peel or baking sheet. -
Step 5
Brush the garlic herb butter generously over the pizza dough, leaving a small border for the crust. -
Step 6
Sprinkle with red pepper flakes, to taste. -
Step 7
Bake for 10-15 minutes, or until crust is golden brown and cheese is melted and bubbly (if using cheese – not specified in ingredients, so optional). -
Step 8
Garnish with minced chives before slicing and serving.
Important Information
Nutrition Facts (Per Serving)
It is important to consider this information as approximate and not to use it as definitive health advice.
Allergy Information
Please check ingredients for potential allergens and consult a health professional if in doubt.